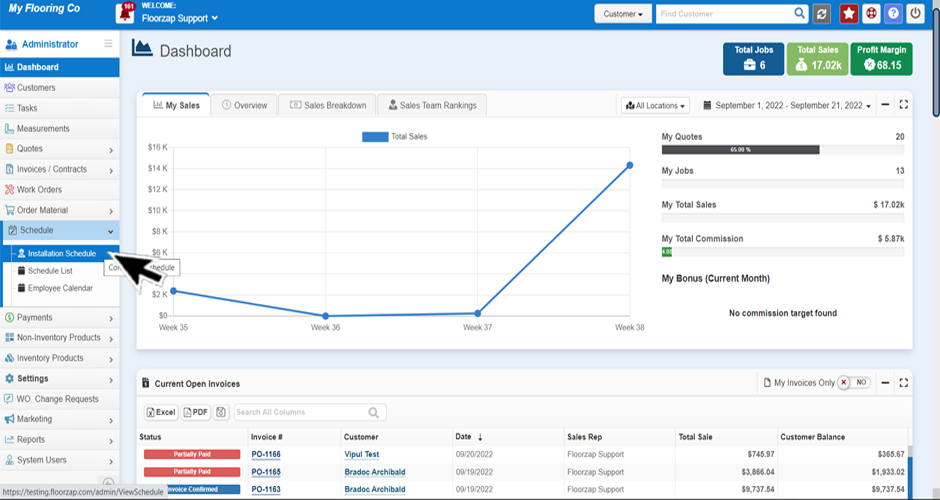
- First you will want to make sure you’re on the installation schedule page. Get there by selecting the “schedule” tab from the left-side menu on the dashboard and then click on installation schedule.
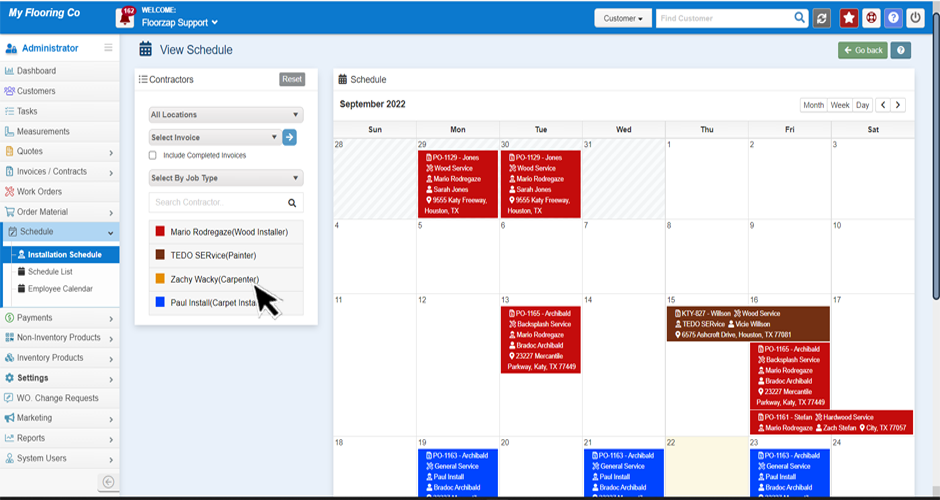
- From the left-side of the calendar screen select the name of the installer you wish to update.
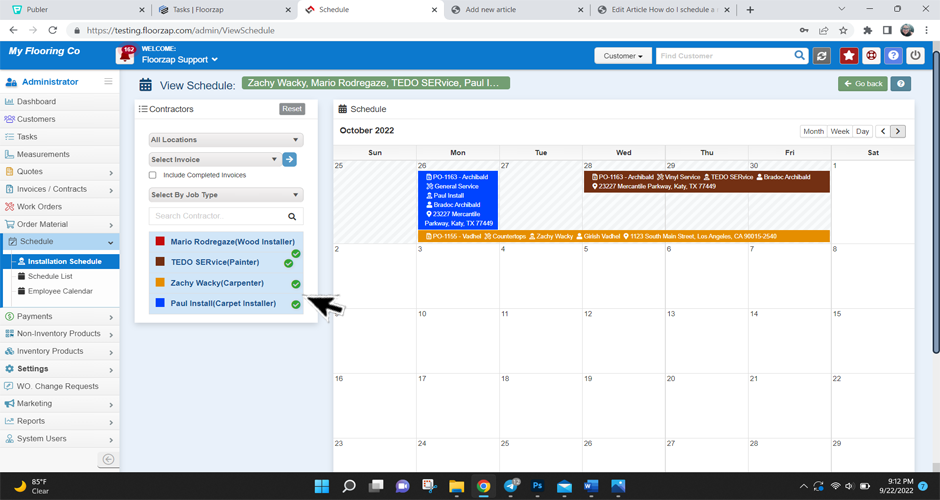
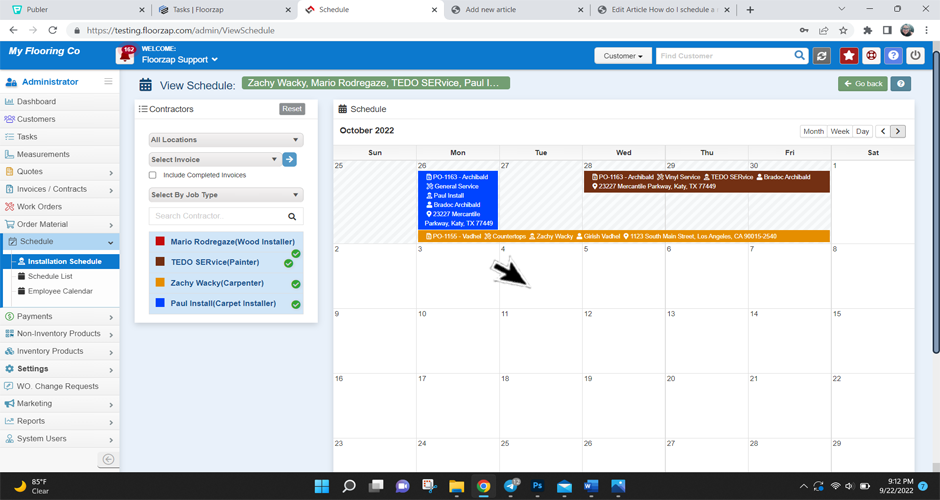
- Click directly on the calendar date that you wish to change to unavailable.
- Two new options will open on the left-side of the screen.
- Change availability to “no.”

- Click save.
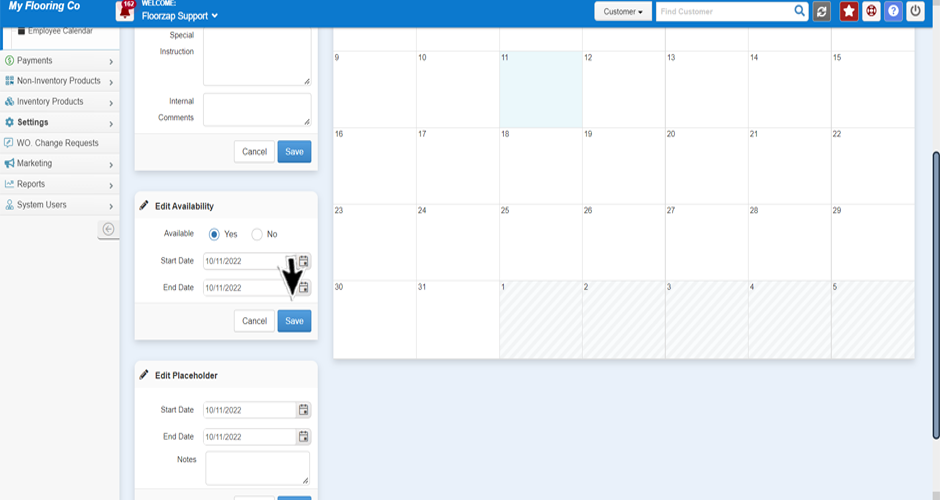
Alternately if you need to only put a placeholder rather than completely blocking off the schedule for that day, follow the same steps but when you get to number 5 edit the placeholder by adding a note as to why you are holding that timeslot and then hit save.
